Useful Tips for Creators
Actionable strategies, trends and data-driven insights to grow YouTube channel and revenue
Actionable strategies, trends and data-driven insights to grow YouTube channel and revenue
YouTube retired viewer-created Clips in April 2026. See what replaced them, how Share at Timestamp and Studio's Video Clips tool work, and how creators use them to grow a channel.
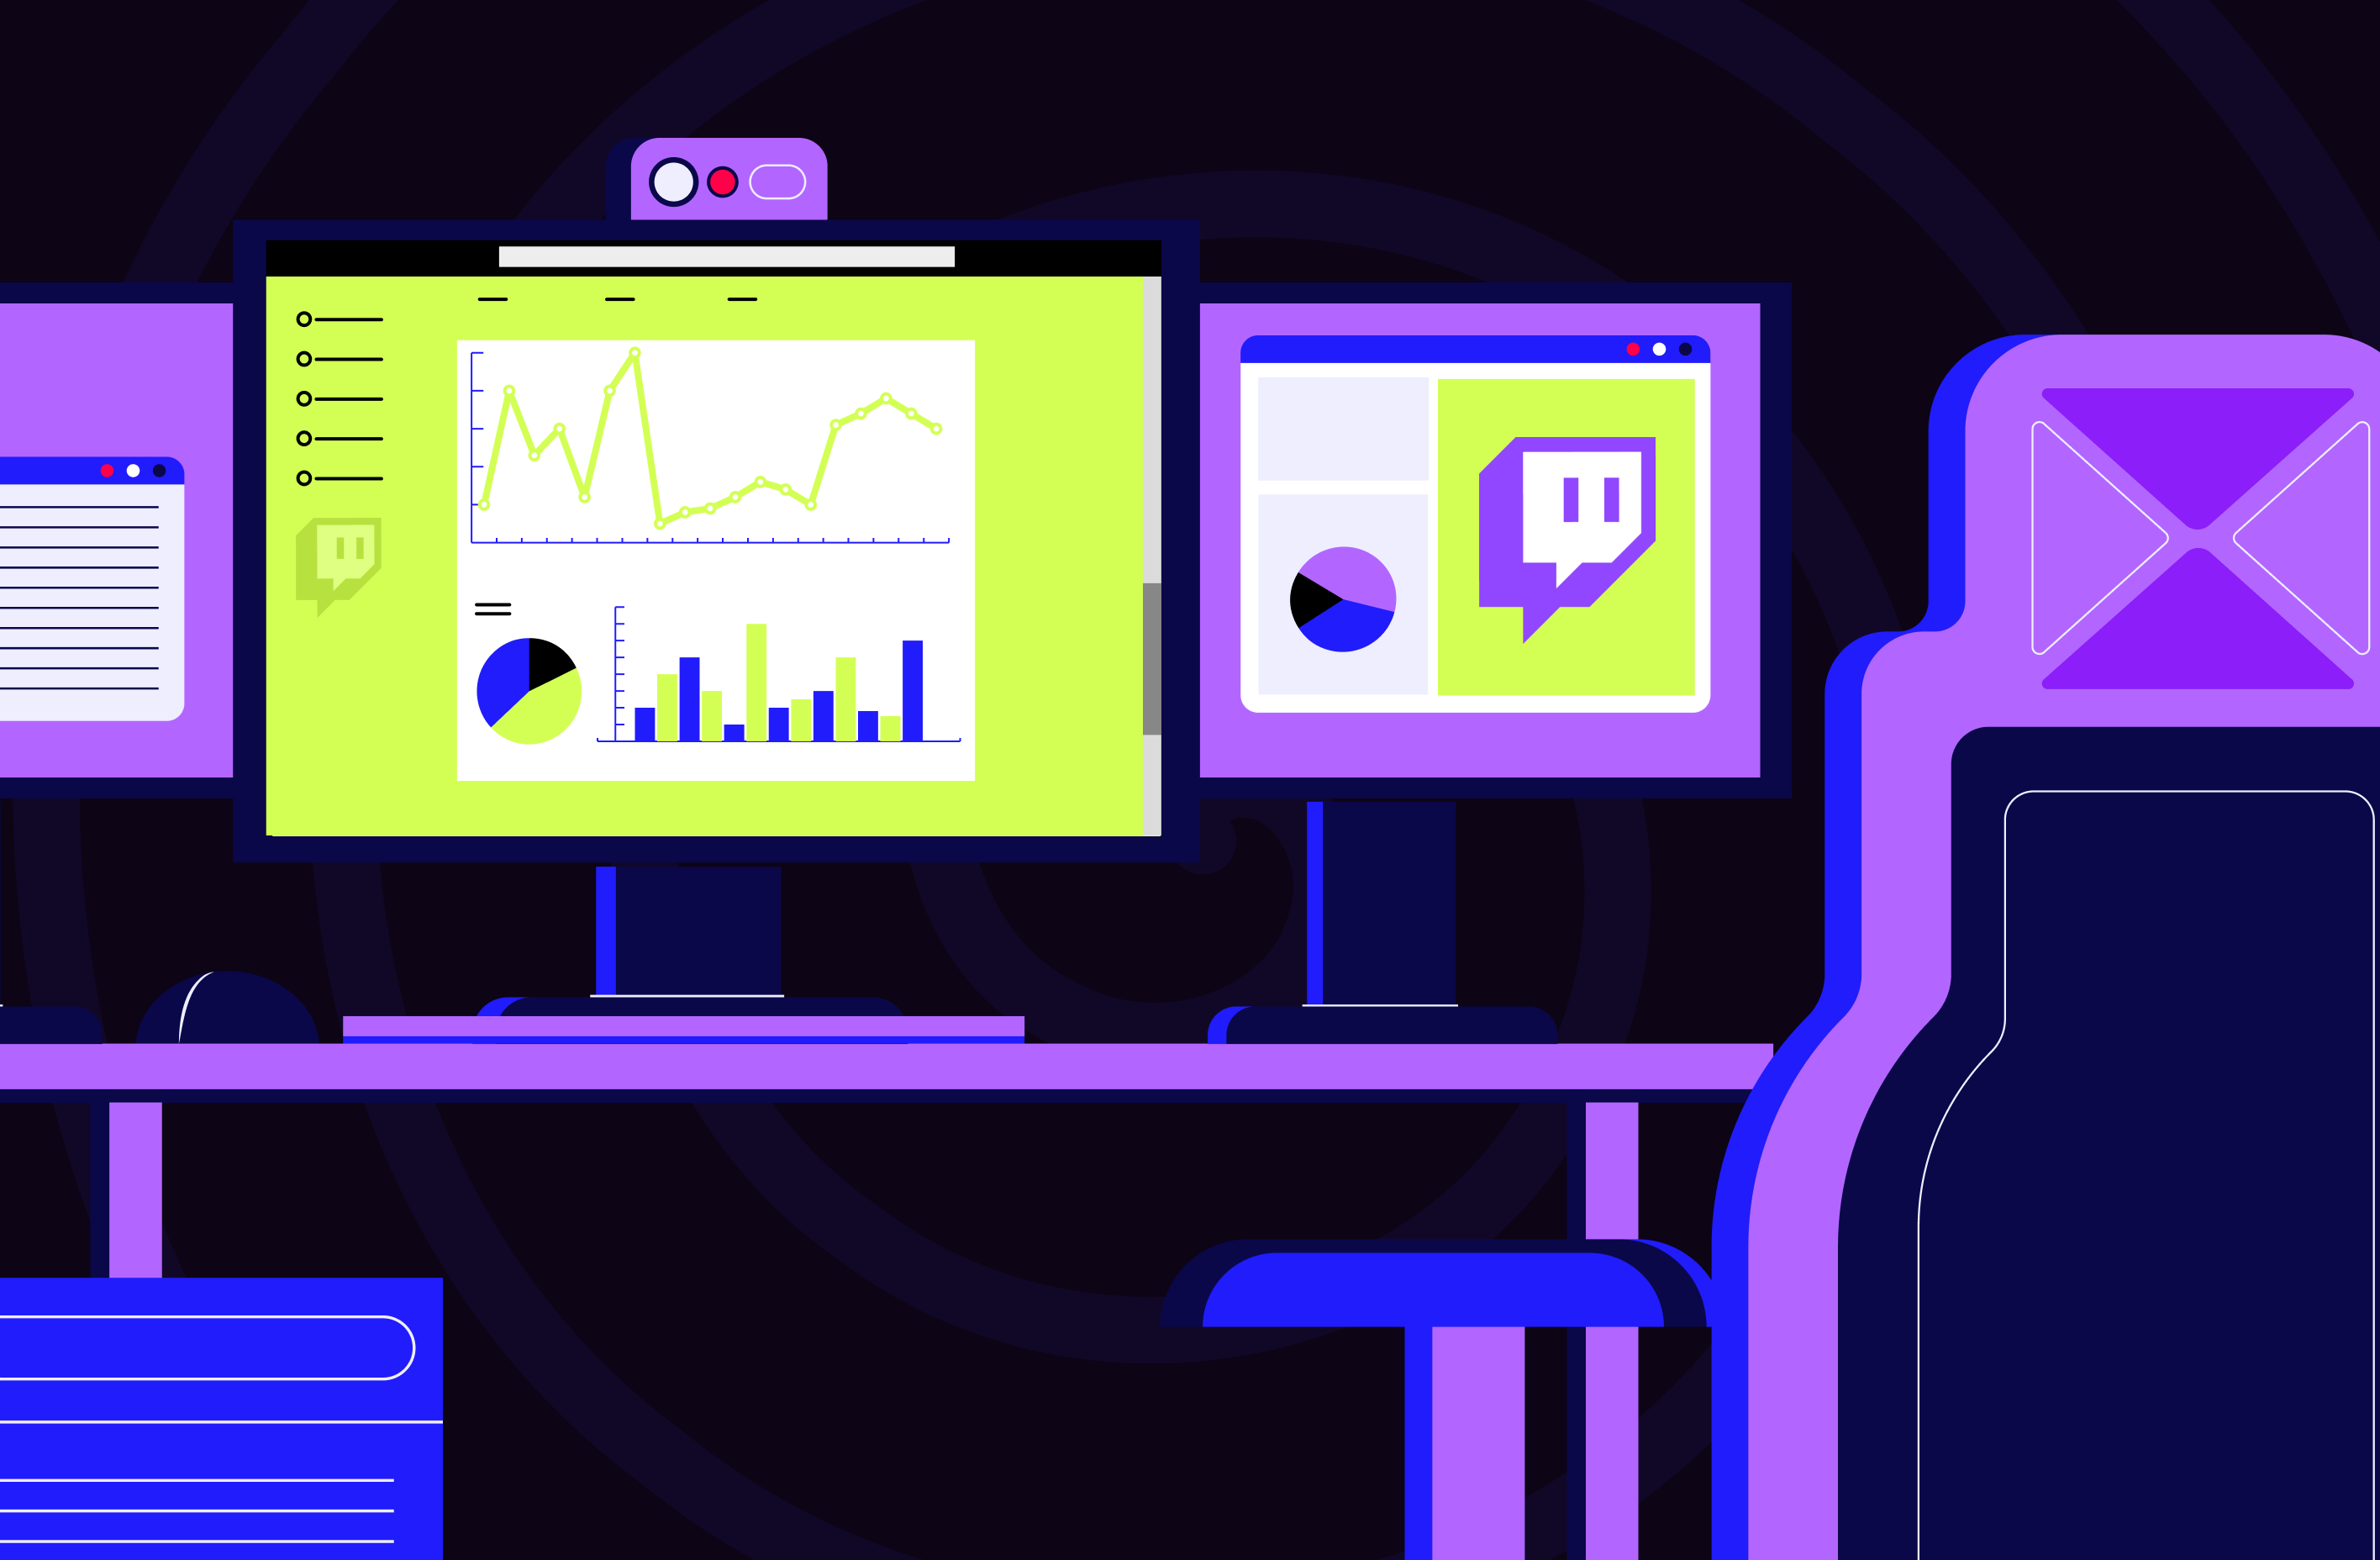
A complete guide to Twitch Analytics in 2026 — which metrics matter, how to read your dashboard, and how to use the data to grow your channel and revenue.

Religion
![]() YouTube
YouTube
469K Subscribers

Kids&Teens
![]() YouTube
YouTube
4.39M Subscribers
Thank you for subscribing!
Check your email.