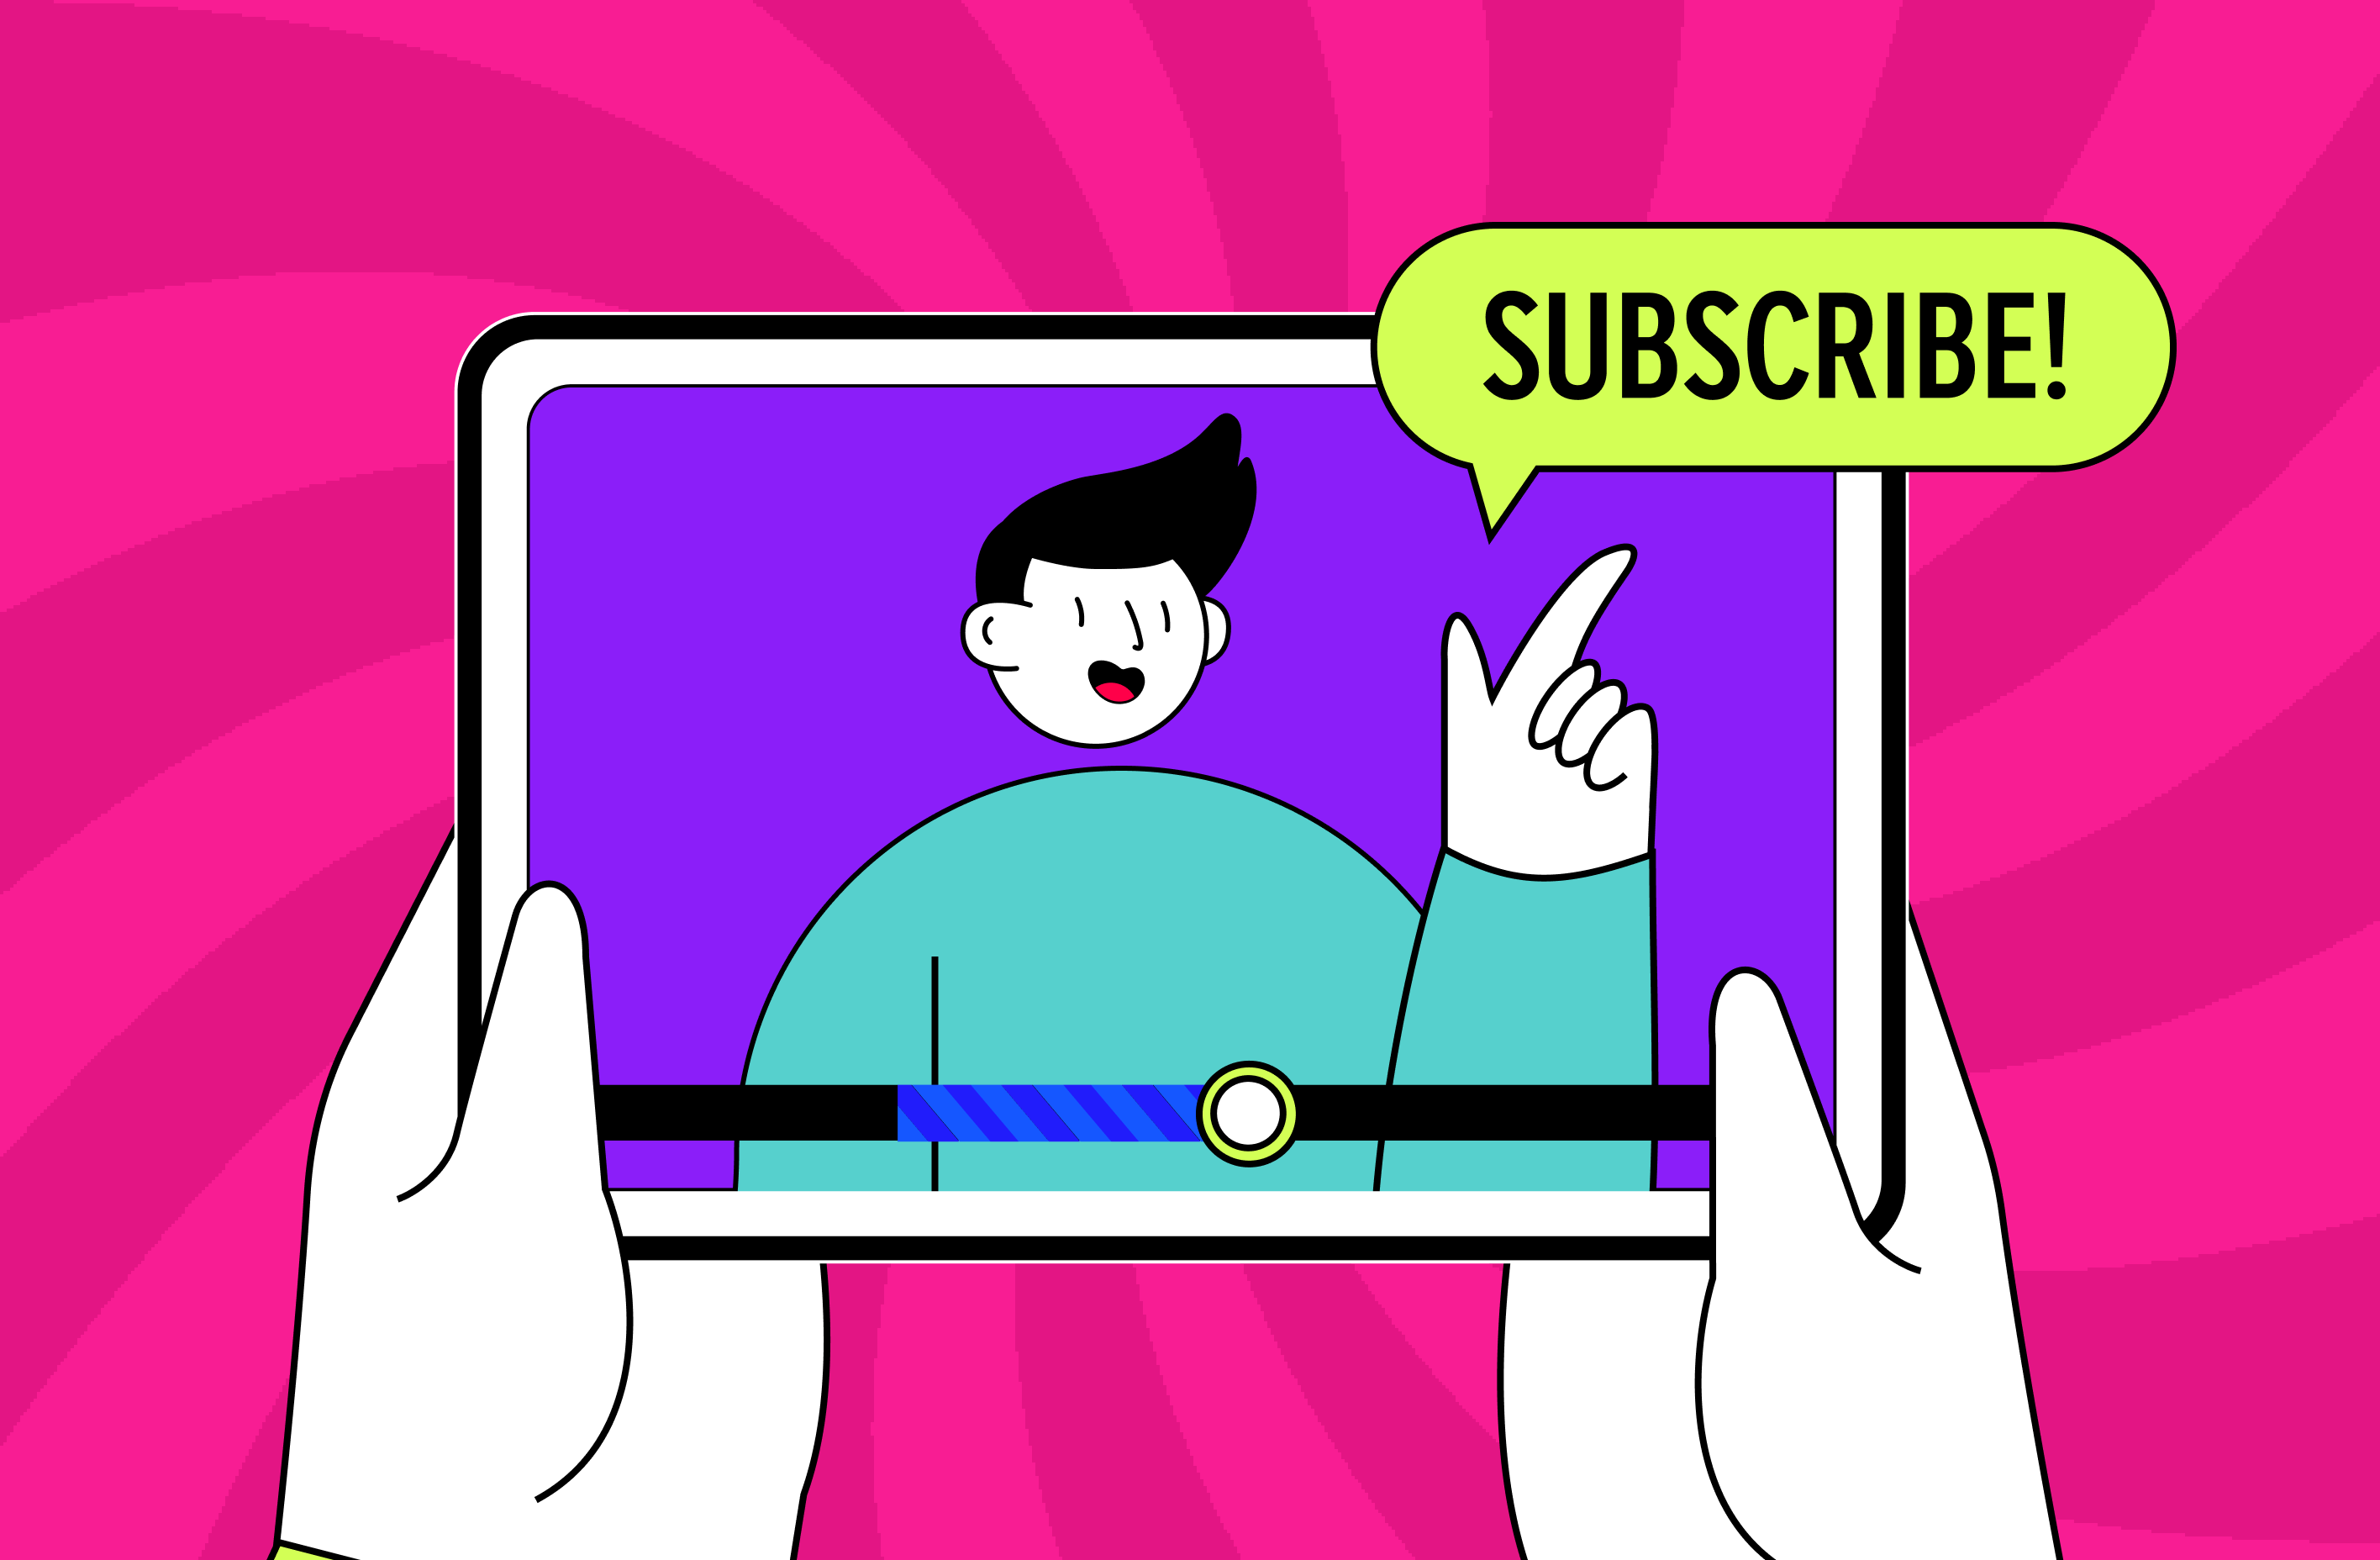

Twitch in 2026 is the most accessible it has ever been for new streamers. Subscriptions and Bits are open from day one. The entry bar has dropped. This guide shows you exactly what you need, what you can skip, and how to go live by the end of the week.
Key takeaways
- A mid-range PC, a quality microphone, and a stable 10 Mbps upload are enough to start streaming at 1080p60.
- OBS Studio is the most popular free option for live broadcasting on Twitch.
- Two-factor authentication (2FA) is mandatory before you can go live.
- Twitch in 2026 offers dual-format streaming, 2K (1440p), AI chatbots, and Shared Hype Trains for collaborations.
- Gyre, a cloud-based tool for 24/7 live streaming using pre-recorded content, keeps your channel present in the directory between live sessions and supports discoverability.
- Consistent schedule, niche focus, and active engagement remain the biggest growth drivers on Twitch.
What do you need to start streaming on Twitch in 2026?
To start streaming on Twitch in 2026, you need four things:
- Hardware: a PC, a microphone, and a webcam (optional).
- Software: a tool to send your video to Twitch.
- A verified Twitch account with 2FA enabled.
- A content idea aimed at a specific niche.
The rest of this guide unpacks each step, plus the 2026 features that matter for new streamers.
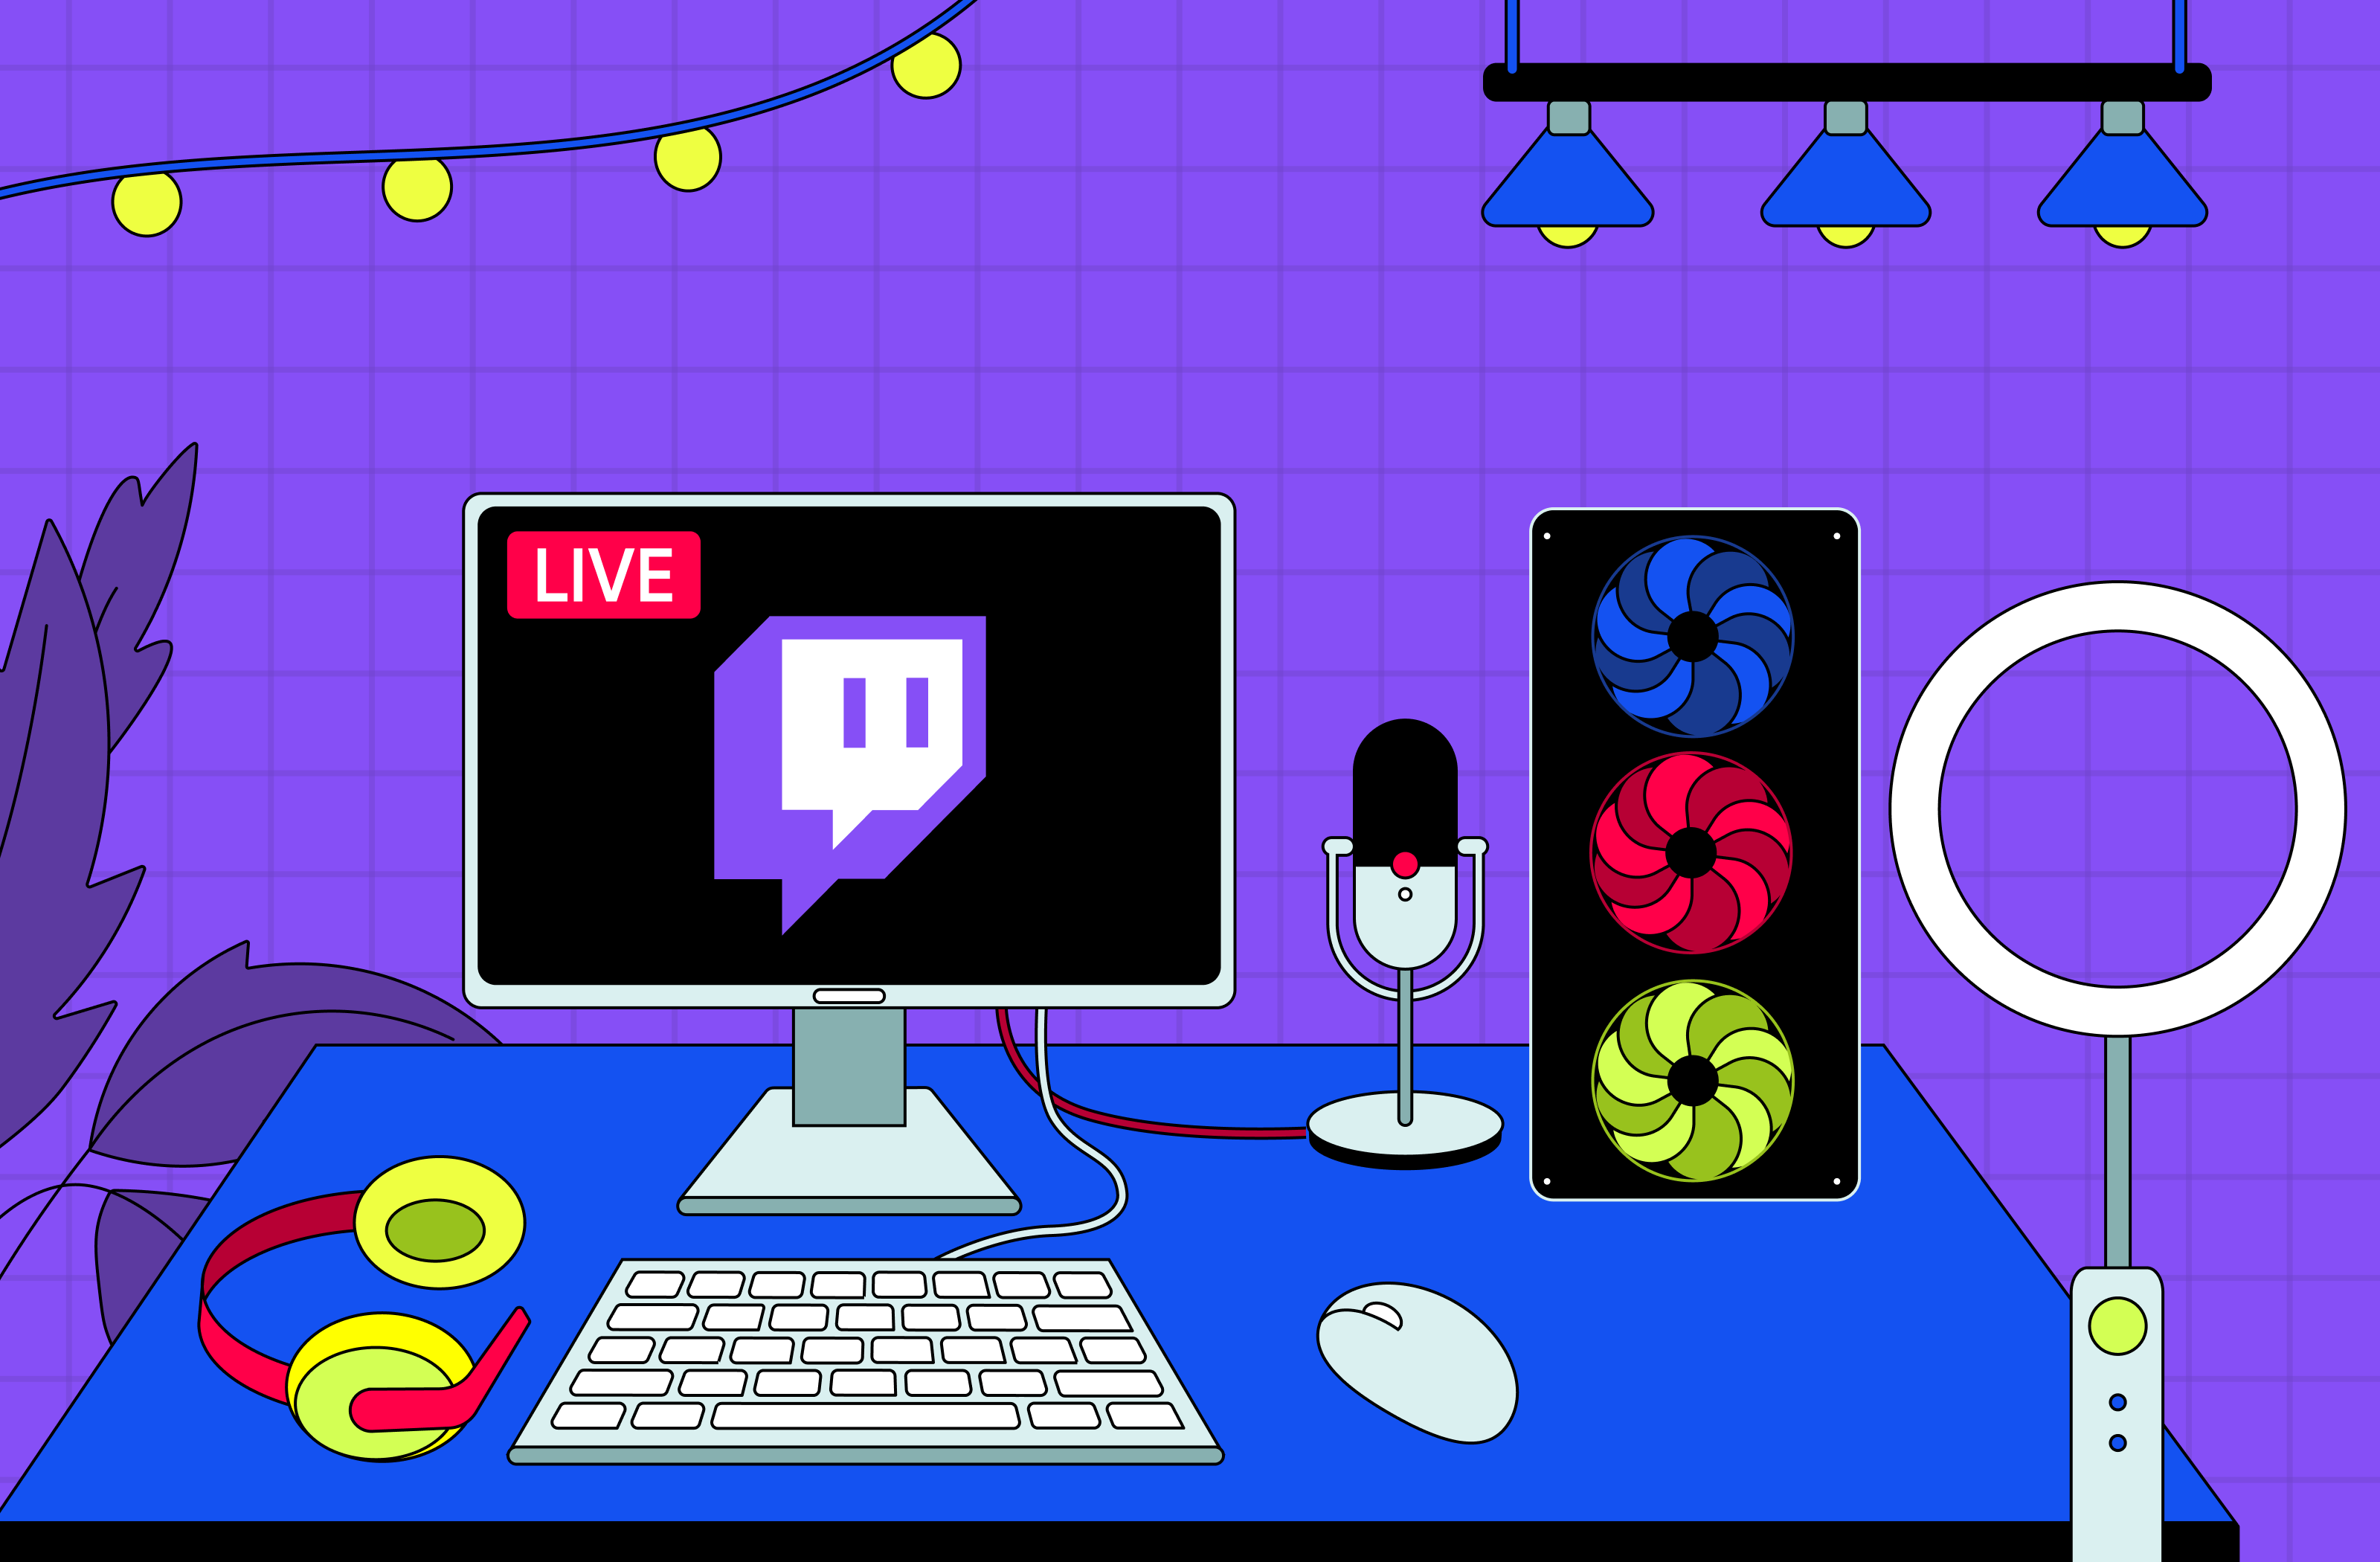
What equipment do you need to stream on Twitch?
The recommended baseline for 1080p60 in 2026: a mid-range PC, a USB microphone, and a stable 10 Mbps upload speed. A webcam is optional. Twitch caps stream bitrate at 6,000 kbps and accepts only the H.264 codec, so you do not need top-tier hardware. Here is what to buy at each tier.
| Component | Budget | Mid-range | Pro tier |
|---|---|---|---|
| PC (CPU + GPU) | Ryzen 5 5600, GTX 1660 Super | Ryzen 5 7600, RTX 4060 | Ryzen 9 + RTX 4080 or dual-PC |
| RAM | 16 GB | 32 GB | 32–64 GB |
| Microphone | FIFINE K669B, Razer Seiren Mini | Elgato Wave:3, Rode NT-USB Mini | Shure SM7B + audio interface |
| Webcam (optional) | Logitech C920 | Elgato Facecam, Logitech StreamCam | DSLR or mirrorless via capture card |
| Upload speed | 6 Mbps (720p60) | 10 Mbps (1080p60) | 20–30 Mbps (dual-format) |
A few things to know:
- Audio quality matters more than video quality. Viewers will forgive a 720p stream long before they forgive a buzzing microphone.
- You can stream without showing your face. Gameplay, music, ASMR, and Vtuber channels all work without a webcam.
- Consoles (PS5, Xbox Series X|S) stream directly to Twitch without a PC. A capture card is only needed if you want to use OBS overlays.
For full Twitch bitrate and encoding specs, see the official Twitch encoding guide.
What is the best software for Twitch streaming?
The best Twitch streaming software depends on your goal. OBS Studio is the most flexible free option for live broadcasting. Streamlabs builds on OBS with a friendlier interface and built-in alerts. Restream covers multistreaming to several platforms at once. Gyre is a cloud-based tool for 24/7 live streaming with pre-recorded content, keeping channels active when the streamer is off camera.
Each tool solves a different problem. Here is how they compare.
| Feature | OBS Studio | Streamlabs | Restream | Gyre |
|---|---|---|---|---|
| Primary use | Live broadcasting | Live broadcasting | Multistreaming | 24/7 pre-recorded |
| Install required | Yes | Yes | Browser-based | No (cloud) |
| Platforms | Win, Mac, Linux | Win, Mac | Web | Web |
| Live cam + gameplay | Yes | Yes | Yes | No |
| 24/7 pre-recorded streams | Manual workaround | Manual workaround | Limited | Native |
| Hardware load on your PC | Medium to high | High | Low | None |
| Cost (entry tier) | Free | Free / paid Ultra | Free / paid plans | Paid, free trial |
| Best for | Live streamers who want full control | Streamers who want plug-and-play alerts | Creators going live on multiple platforms | Channels filling time between live sessions |
The strongest formula for most Twitch creators is a two-tool setup: pick one live-broadcasting service that fits your workflow, and pair it with Gyre to support the channel when you are not on camera. The two never overlap, and together they cover the full week rather than just your live hours.
How do you set up a Twitch account for streaming?
To set up your Twitch account for streaming, complete the four steps in order:
- Sign up at twitch.tv and verify your email.
- Enable two-factor authentication. Twitch requires it before you can go live.
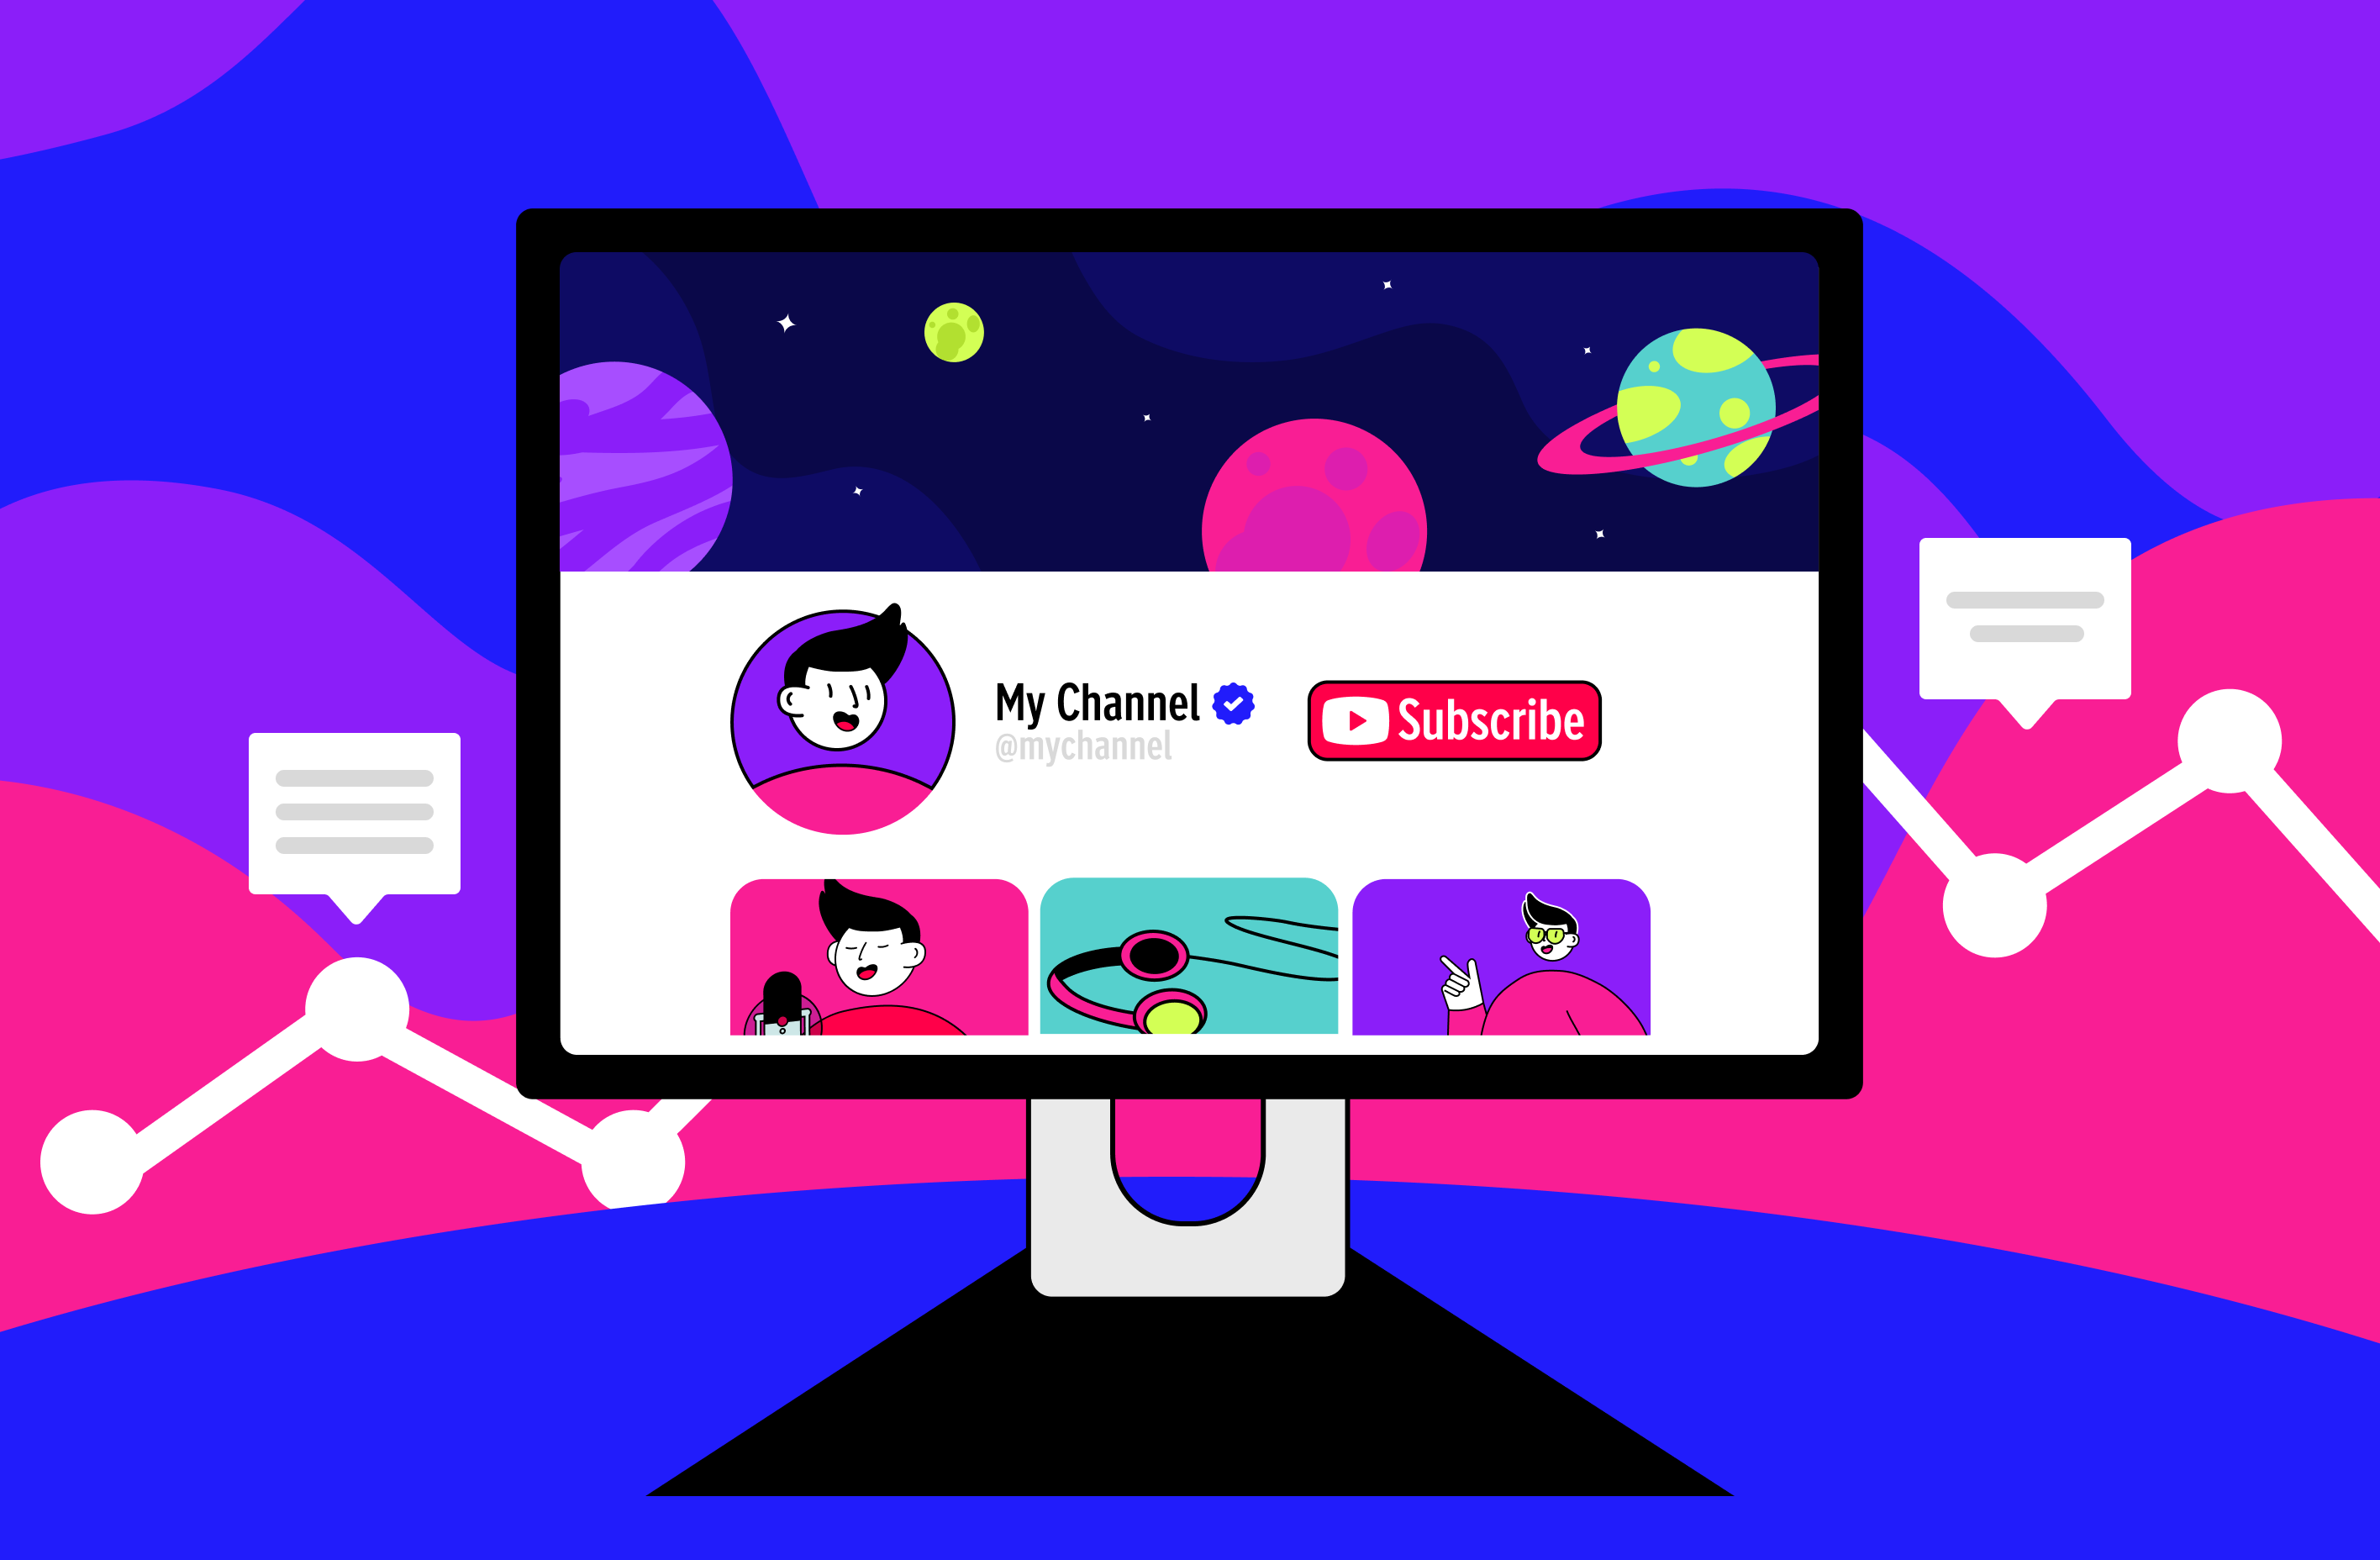
- Customize your channel page (banner, panels, offline image).
- Link your streaming software using your stream key.
Important details to get right from the start
- 2FA is non-negotiable. Use the Twitch Authenticator app or Google Authenticator. SMS works but is the weakest option. See the official Twitch 2FA guide.
- Stream key is private. Never share it. Anyone with your key can stream to your channel.
- Review the community guidelines before your first stream. Twitch updated them in 2025–2026 with clearer rules on AI-generated content and gambling. Read the current guidelines.
- Set up your offline image, panels, and chat rules before going live. First-time visitors judge your channel in seconds. We have a deeper walkthrough on how to customize your Twitch channel for better visibility.
- Once your channel is live, extensions add interactivity. See our roundup of must-have Twitch extensions and plugins for 2026 picks.
Twitch setup guide: connecting your software
Open your streaming tool, go to Stream Settings, and select Twitch as the destination. The software will pull your stream key automatically once you log in. Set bitrate to 6,000 kbps, encoder to H.264 (NVENC for NVIDIA GPUs, AMF for AMD), and keyframe interval to 2 seconds.
Run a short test stream before announcing your debut. Twitch’s inspector tool (inspector.twitch.tv) shows whether your bitrate and frame rate are stable.
How does the Twitch algorithm work in 2026?
Twitch does not use a recommendation algorithm in the YouTube sense. Discovery on Twitch happens through live presence in category directories, raids from other channels, clips that circulate on social media, Hype Train activity, and watch streak rewards.
These are the signals that move new viewers toward your channel:
- Directory presence. Your channel only appears in the category directory while you are live. Off-air channels are invisible.
- Concurrent viewer count. Directories rank live streams by viewers, which creates a cold-start challenge for new channels.
- Raids. An ending streamer sends their audience to another live channel. A well-timed raid can multiply a small streamer’s session viewership.
- Clips. Short highlight segments cut by viewers. Clips circulate on Twitch’s clip feed and across social platforms, pulling in new viewers.
- Hype Trains. Concentrated bursts of subs, gift subs, and Bits that unlock community emotes. They reward channels with active, paying audiences.
- Watch streaks. Added in 2026. Viewers earn rewards for watching live, clips, or VODs across consecutive sessions, which encourages return visits.
The practical takeaway: schedule consistency outperforms one-off marathon streams. Twitch favors channels that show up at predictable times, because that is when existing viewers return and clip activity builds momentum.
Twitch vs YouTube streaming: how do they compare for new creators?
Twitch is live-first; YouTube is search-first. On Twitch, you grow by being live in a category directory at predictable hours, building chat relationships, and producing clips. On YouTube, you grow through recommendations driven by watch time, click-through rate, and historical viewer behavior.
Three practical differences for a new streamer choosing between them:
- Audience expectations. Twitch viewers expect real-time interaction. YouTube viewers expect produced, edited content they can watch on their own schedule.
- Discovery mechanics. Twitch surfaces live channels by directory rank and clip momentum. YouTube surfaces channels by algorithmic recommendation based on viewer history.
- Monetization timing. Twitch opens subs and Bits from day one. YouTube requires 1,000 subscribers and 4,000 watch hours (or 10 million Shorts views) before monetization activates.
Many creators run on both platforms in parallel: live on Twitch, edited highlights and VODs on YouTube. Pre-recorded streams on Twitch can use YouTube-published content directly, which removes the need to produce separate material for each platform.
How do you monetize a Twitch channel in 2026?
Twitch monetization in 2026 starts with the Affiliate program, which unlocks subscriptions, Bits cheering, and ad revenue. Twitch loosened access in 2025: most new streamers now get subs and Bits from their first stream, instead of clearing the older thresholds. Check your Path to Affiliate tracker in Creator Dashboard → Insights → Achievements for the current requirements tied to your account. The official Twitch Affiliate guide has the latest details.
Affiliate vs Partner
| Aspect | Affiliate | Partner |
|---|---|---|
| Entry barrier | Most accounts get subs and Bits from day one | Manual application, ~500 hours, 75 avg viewers |
| Subscription split | 50/50 | 50/50, some negotiated higher |
| Bits revenue | $0.01 per Bit | Same rate, plus priority transcoding |
| Ad revenue | Yes, lower CPM tier | Higher CPM and ad incentive program |
| Custom emotes | Up to 5 sub emotes | Up to 60+ slots |
| Transcoding for viewers | When server capacity allows | Guaranteed |
Other ways to earn
- Pinned Cheers with Bits. Viewers pin a message by cheering with Bits. This replaced Hype Chat, which Twitch deprecated in 2023.
- Direct donations. Streamlabs, StreamElements, PayPal, or Ko-fi. You keep 100% minus payment fees.
- Brand sponsorships. Realistic once you hit consistent concurrent viewers.
- Merchandise and affiliate links. No audience size requirement, just relevance to your community.
What is new on Twitch in 2026?
Twitch in 2026 rolled out several updates that change what a new streamer should plan for. The biggest ones.
Dual-format streaming
Twitch now supports simultaneous horizontal (16:9) and vertical (9:16) output from one stream. Desktop viewers see widescreen; mobile viewers holding a phone upright see a vertical full-screen layout. The feature runs through Enhanced Broadcasting with OBS Studio v31.0 or newer, plus a vertical plugin. See the official Dual Format guide.
Hardware requirements are heavier: NVIDIA RTX 30-series or AMD RX 6600 and better, plus 20–30 Mbps upload.
2K (1440p) streaming
Eligible Affiliates and Partners can now stream at 2K resolution via Enhanced Broadcasting. The codec is more efficient than the old 1080p pipeline, but the higher pixel count still demands stronger hardware and faster upload.
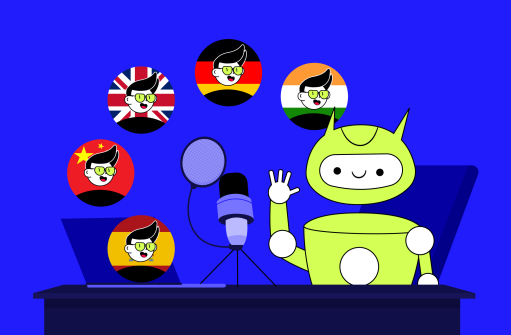
AI-powered chatbots
The 2026 generation of chatbots understands context, remembers past viewer interactions, and reacts to emotional cues. They write personalized welcomes, contextual raid messages, and conversation prompts during quiet moments. Channels using context-aware AI agents report viewer retention gains of up to 30%.
Shared Hype Trains, Shared Chat, Stream Together
Collaboration tools expanded in 2025–2026. Two or more streamers can now run a shared Hype Train with combined contributions. Shared Chat merges chat across collaborating channels. Stream Together (and Guest Star mode) let you invite up to five guests into your stream from desktop or mobile, with no third-party software needed.
Watch streak rewards
Viewers now build streaks by watching your channel across consecutive sessions. Streaks unlock rewards and give your community a reason to return.
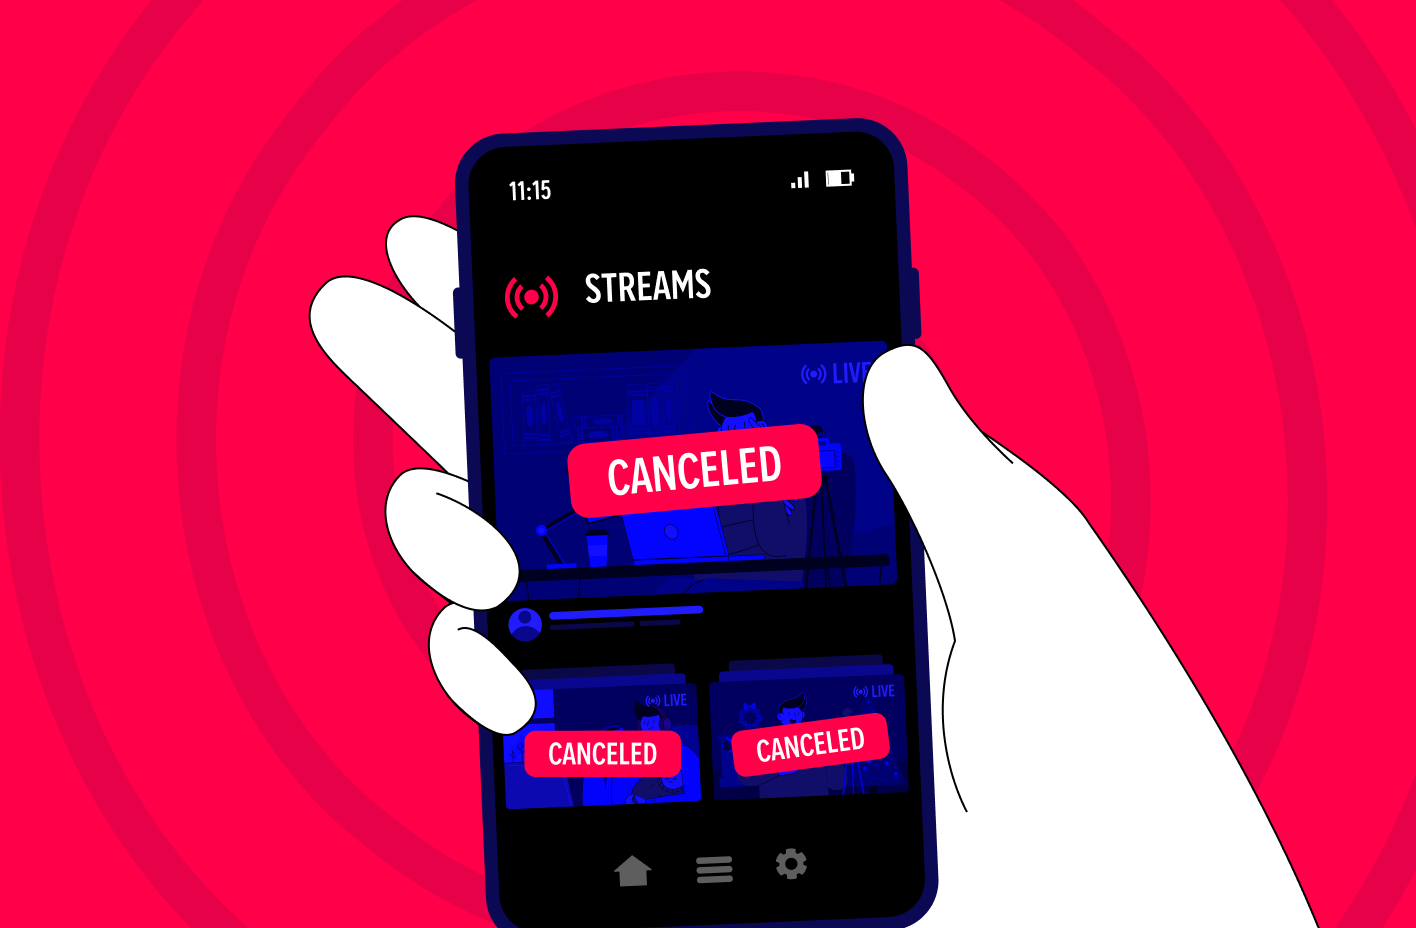
Can you stream pre-recorded content on Twitch 24/7?
Yes, you can stream pre-recorded video on Twitch 24/7 using a cloud-based tool like Gyre, which sends your video files to Twitch as continuous live streams without requiring you to be in front of a camera. Twitch supports this format under its standard terms, as long as the content is your own and you label your stream type clearly.
Twitch is a live-first platform. Real-time chat and streamer presence drive most of a channel’s value, so pre-recorded streams do not replace going live. They support the live strategy.
Where pre-recorded streams fit
- Always-on presence. Your channel never falls fully offline.
- Bridge content between live sessions. Gap days no longer show “last seen two days ago” to new visitors.
- Highlight warmup before live. Play your best past moments in the hour before a scheduled stream.
- Directory presence for cold discovery. You stay in your category directory outside live hours.
- Time-zone coverage. Viewers in other regions can encounter your content at their hours.
- Subathon support. Marathon sub events keep momentum during your rest hours.
- Niche testing. Try a second category without committing live hours to see audience reaction.
- Cross-platform reuse. Your YouTube uploads or recorded sessions can run on Twitch without producing separate content.
- Onboarding for new visitors. Someone who finds your channel off-air still has content to evaluate.
- Second life for expired VODs. Your best past streams keep working after Twitch’s VOD storage window closes.
If you want a deeper view on how to repurpose your videos into continuous live streams that grow your audience around the clock, our companion guide on continuous streams covers the strategy in detail.
Because the streaming load runs in the cloud, your PC stays free for live sessions when you do go on camera.
How do you grow your Twitch channel as a beginner?
To grow a new Twitch channel, focus on five habits: stream consistently, pick a clear niche, engage every viewer, repurpose clips for social media, and network with other small streamers.
Stream on a consistent schedule
Three streams a week of two to three hours each outperform one occasional ten-hour marathon. Twitch viewers form watching habits around predictable times. Pick your slots, post them on your channel page, and stick to them for at least 90 days.
Pick a niche
Avoid oversaturated categories like League of Legends and Just Chatting unless you have a strong angle. Smaller categories give you a real chance of placing in the top 10 by viewers, where directory discovery happens. Branch out only after you have a base.
Engage your audience
Greet every viewer by name. Respond to every chat message during your first 50-viewer phase. The community you build in the first months is the one that defends your channel later.
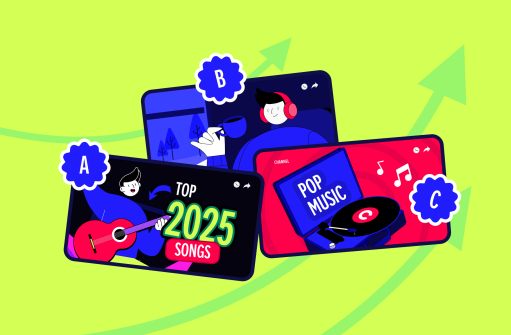
Clip and distribute
Your best moments live as 30 to 60-second clips. Post them daily on TikTok, X, Instagram Reels, and YouTube Shorts. Twitch’s 2026 advanced clip editor surfaces high-engagement moments automatically, which speeds the workflow.
Network with peers
Find five to ten streamers in your size range and niche. Watch their streams, comment thoughtfully, raid each other when sessions end. Networks of small streamers outperform any single growth tactic.
Conclusion: your first 90 days on Twitch
Starting on Twitch in 2026 comes down to a clear sequence. Buy the minimum viable gear. Install your streaming software. Create your account, turn on 2FA, customize your page. Pick a niche, set a schedule, and go live.
After your first month, look at what your viewers responded to and adjust. After three months, consider adding pre-recorded streams to cover the gaps between your live sessions. Gyre runs in the cloud, so it does not compete with your live setup for hardware resources, and both fit into the same strategy.
The 2026 updates make this the easiest time in Twitch’s history for a new streamer to break in. The hard part is showing up consistently. Everything else is logistics.
Want to test 24/7 pre-recorded streaming on your Twitch channel? Start a 7-day free Gyre trial and see how continuous channel presence changes your discoverability.
FAQ
Do I need a capture card to stream on Twitch?
Only if you stream from a console (PlayStation 5, Xbox Series X|S, Nintendo Switch) and want to add overlays or alerts through a PC. PC streamers and mobile streamers do not need one.
Can I stream on Twitch without showing my face?
Yes. Many successful Twitch channels run on gameplay and voice alone, or use a static avatar, a Vtuber model, or a digital character. Faceless streaming is fully supported.
What is the minimum internet speed for Twitch streaming?
Twitch recommends at least 6 Mbps stable upload for 720p60 and 10 Mbps for 1080p60. Dual-format streaming needs 20–30 Mbps because you are sending two video feeds at once.
Can I use pre-recorded videos for Twitch streams?
Yes. Twitch allows pre-recorded streams as long as the content is your own and labeled correctly. Tools like Gyre, a cloud-based platform for 24/7 live streaming from pre-recorded content, handle the stream continuously without requiring your PC to stay online.
What are the Twitch Affiliate requirements in 2026?
Twitch loosened its monetization rules in 2025, opening subscriptions and Bits to most new streamers from their first stream. Current thresholds vary by account: check your Path to Affiliate tracker in Creator Dashboard → Insights → Achievements. See the official Twitch Affiliate guide for the latest.