Useful Tips for Creators
Actionable strategies, trends and data-driven insights to grow YouTube channel and revenue
Actionable strategies, trends and data-driven insights to grow YouTube channel and revenue
What YouTube impressions mean, how they connect to CTR and watch time, and how to turn more impressions into real views and engagement — updated for 2026.
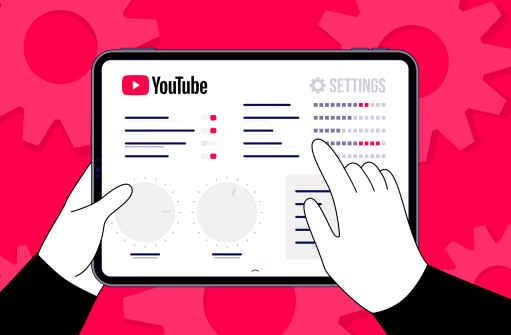
The essential YouTube upload settings you must configure every time — titles, descriptions, tags, cards, end screens, captions and visibility — to maximise reach in 2026.

Religion
![]() YouTube
YouTube
469K Subscribers

Kids&Teens
![]() YouTube
YouTube
4.39M Subscribers
Thank you for subscribing!
Check your email.